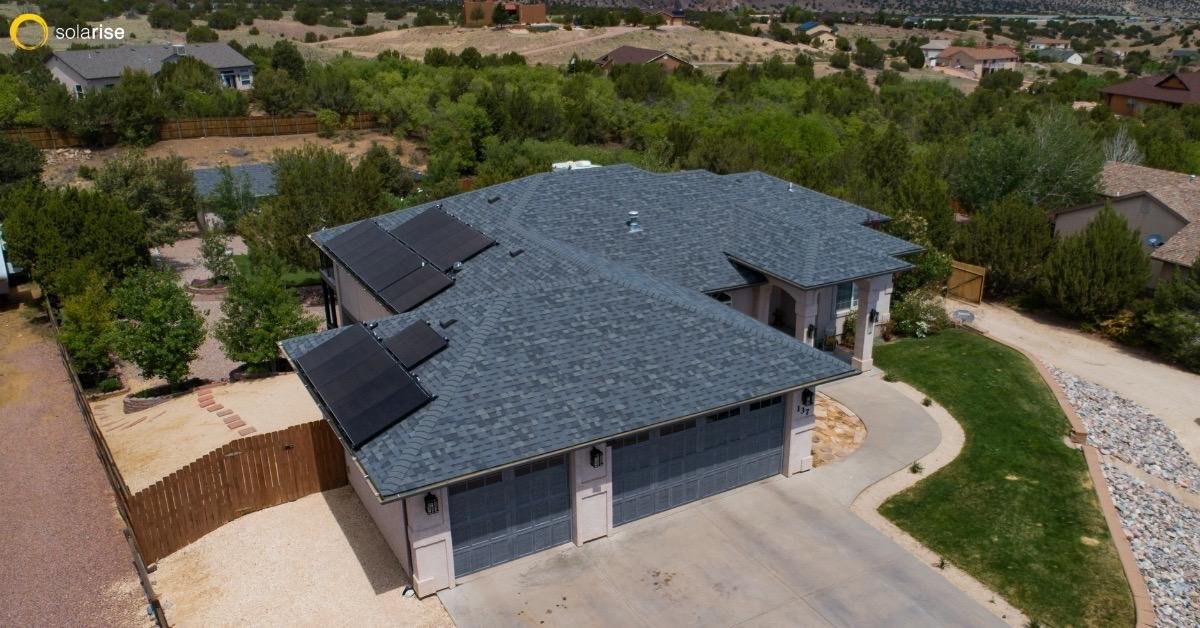
Few elements are as important as the roof for building a strong and stable shelter. The roof protects humans and valuables from rain, snow, wind, and sunshine as the first line of defense against the elements. A set of coordinated processes are taken when erecting a roof to ensure the durability and resiliency of the building. In this post, we’ll examine the roof installation procedure in detail, highlighting the major steps and factors.
1. Initial Assessment and Planning:
The journey of installing a roof begins with an initial assessment of the structure. Architects and engineers take the design of the building, the load-bearing capacity, and environmental conditions into account when deciding on the appropriate type of roofing system. Variables including the slope, style, and material selections are taken into consideration during the planning stage.
2. Material Selection:
Roofing materials come in a variety of options, each with its unique set of advantages and disadvantages. Common choices include asphalt shingles, metal panels, clay tiles, wood shakes, and synthetic materials. The material choice depends on factors like budget, aesthetic preferences, durability requirements, and climate considerations.
3. Preparatory Work:
Before the installation process begins, the existing roofing materials, if any, are removed to create a clean slate. The roof deck is inspected for structural integrity and repaired if needed. Proper ventilation and insulation are also ensured to enhance energy efficiency and prevent moisture-related issues.
4. Underlayment Installation:
An essential step in the roof installation process is the placement of an underlayment. This protective layer serves as a barrier against water infiltration and is typically constructed of synthetic materials or felt that has been saturated with asphalt. Between the roofing material and the roof deck, it adds another layer of security.
5. Flashing and Waterproofing:
Flashing, which consists of thin metal sheets, is strategically placed around roof penetrations, such as chimneys, vents, and skylights, to prevent water from seeping into vulnerable areas. Proper flashing installation is crucial to ensure a watertight seal and prevent leaks.
6. Roofing Material Application:
With the foundation in place, the actual roofing material is installed. Each material type has its own specific installation methods. For instance, asphalt shingles are layered from the bottom up, while metal roofing panels are attached using screws or clips. Roofers follow manufacturer guidelines to ensure proper installation and prevent future issues.
7. Ridge Vent and Hip Installation:
To facilitate proper ventilation and temperature regulation within the attic space, ridge vents and hip vents are installed at the highest points of the roof. These components allow air to circulate, reducing the risk of moisture buildup and prolonging the roof’s lifespan.
8. Finishing Touches:
The final stages of the roof installation process involve attention to detail. Roofers inspect the entire installation, ensuring that all seams, fasteners, and edges are secure. Any necessary touch-ups are performed, and the site is thoroughly cleaned of debris.
9. Inspection and Quality Assurance:
Local building codes and regulations often require a final inspection to ensure that the roof has been installed correctly and meets safety standards. It’s important to have the work inspected to avoid future issues and ensure compliance.
To sum up, building a roof requires careful planning, material selection, and competent workmanship. It also requires a coordinated effort. The overall strength, usefulness, and aesthetic appeal of the finished product depend on each step. In order to guarantee a durable and safe roof you should always work with a licensed roofing professional. A properly built roof not only protects against the weather but also increases the structure’s worth and durability.

